EN




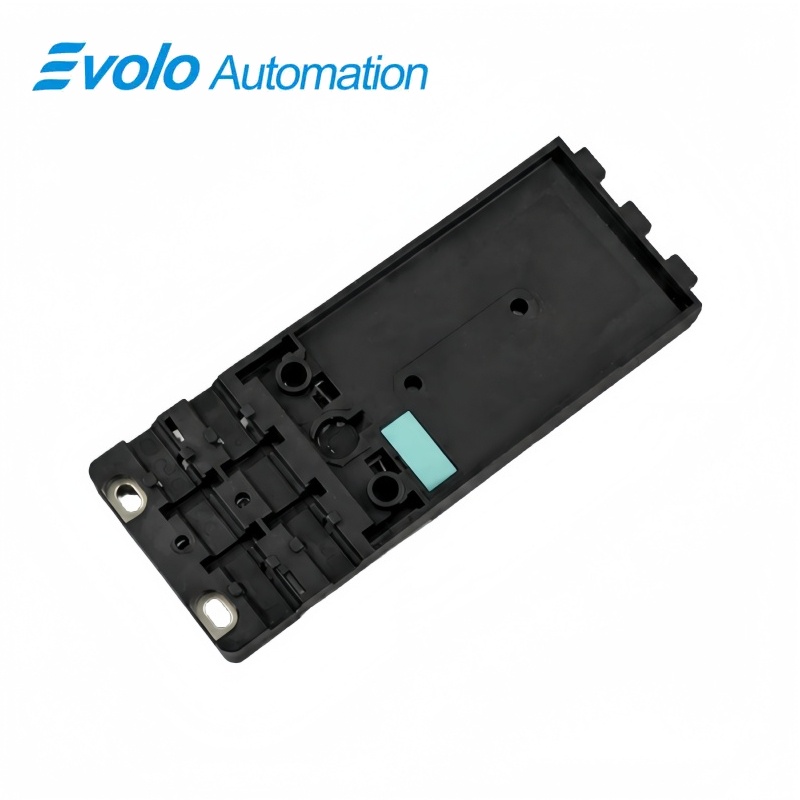
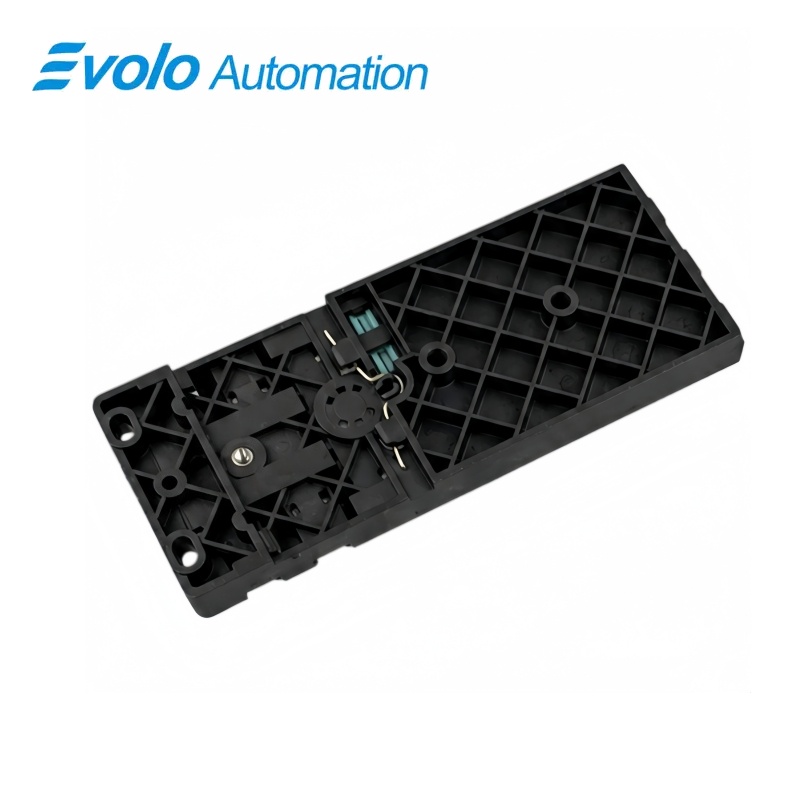
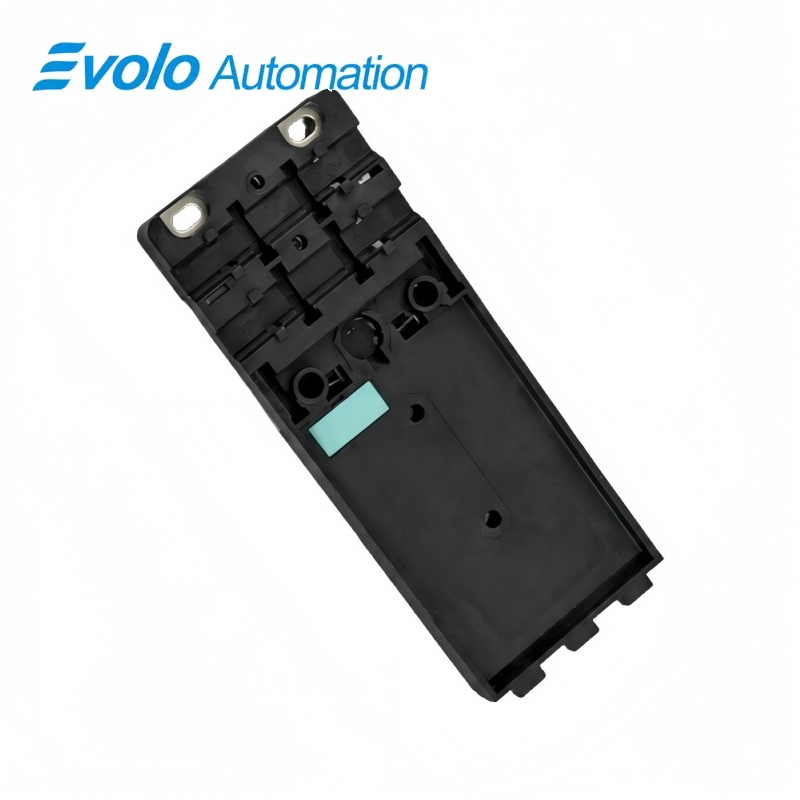
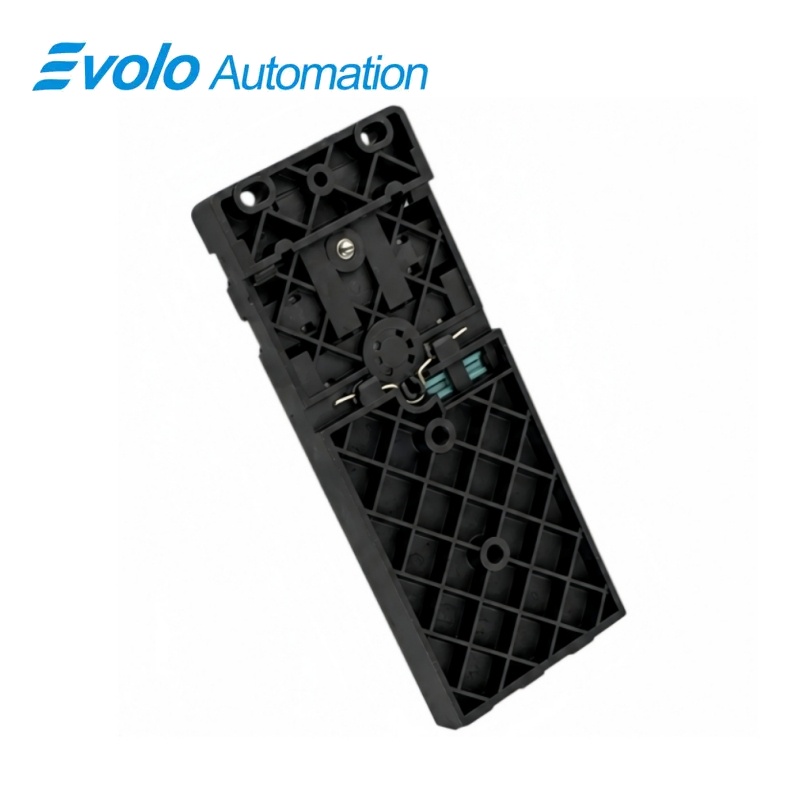
Siemens 3RK1901-0CB0 AS-Interface K60 DIN-Rail Mounting Plate
Manufacturer: Siemens
Condition: Brand New
Lead Time: In Stock
Origin: Germany
Warranty: 12 Months
Email: [email protected]
whatsApp: +86-18150117685
- Overview
- Hot Selling Models
- Recommended Products
Overview
- Use a K60 compact module with the matching mounting-plate interface.
- Reserve 152 × 60 mm for the plate footprint and include the fitted module’s depth in the installation space.
- Route the AS-Interface and AUX POWER flat cables in their designated positions before seating the module.
- Engage the ground contact and tighten the module retaining screw to 1.6–1.8 N·m.
- Isolate the supply before connecting or disconnecting the station cables.
3RK1901-0CB0 AS-Interface K60 DIN-Rail Mounting Plate
K60 mounting plate for DIN-rail installation, with separate AS-Interface and auxiliary-power cable paths and an integrated ground connection.
At a Glance
| Brand | Siemens |
|---|---|
| Model | 3RK1901-0CB0 |
| Product Type | DIN-rail mounting plate |
| Core Function | Mounting and cable support for compact field modules |
| Application | AS-Interface K60 compact modules |
Rail installation
DIN-rail mounting arrangement for the K60 compact-module format.
Two cable paths
Separate positions for the AS-Interface flat cable and the AUX POWER flat cable.
Module grounding
A ground clamp connects to the installed module through its ground contact.
Product Overview
3RK1901-0CB0 provides the DIN-rail mounting base for an AS-Interface K60 compact module, supporting the field module and locating the flat cables behind it.
The plate has a 152 × 60 mm outline and a 14.5 mm depth, while the front-mounted K60 module closes over the cable-contact area and is secured by its retaining screw.
Key Functions
Support the K60 field module
The mounting plate provides the mechanical interface between the DIN rail and the K60 compact-module housing.
Locate bus and auxiliary-power cables
Separate cable paths position the AS-Interface and AUX POWER flat cables beneath the module during assembly.
Complete the grounding path
The mounting-plate ground clamp connects through a contact pin to pin 5 of the installed module’s M12 sockets.
Official Specifications
| Plate Dimensions (Height × Width × Depth) | 152 × 60 × 14.5 mm |
|---|---|
| Illustrated Fixing Screws | 3 × M4 × 16 |
| Fixing-Hole Diameter | 4.5 mm |
| Upper Vertical Fixing Pitch | 34 mm |
| Lower Horizontal Fixing Pitch | 39 mm |
| Flat-Cable Positions | 2: AS-Interface and AUX POWER |
| Ground Connection | Ground clamp linked through the module contact pin to pin 5 of each M12 socket |
| Module Retaining-Screw Torque | 1.6–1.8 N·m |
Frequently Asked Questions
Can I use 3RK1901-0CB0 to mount a K60 compact module on a DIN rail?
The mounting plate provides the DIN-rail base for a K60 compact-module assembly.
How much space does 3RK1901-0CB0 occupy before the K60 module is fitted?
The bare plate measures 152 mm high, 60 mm wide and 14.5 mm deep.
Where do I place the two flat cables when assembling 3RK1901-0CB0?
Place the AS-Interface flat cable and the auxiliary-power flat cable in their separate designated paths beneath the module.
How tightly should I secure the K60 module fitted to 3RK1901-0CB0?
Tighten the module retaining screw to 1.6–1.8 N·m after the module is seated on the plate.
How does 3RK1901-0CB0 connect the field module to ground?
The plate’s ground clamp connects through the module contact pin to pin 5 of each M12 socket.
Can I disconnect the AS-Interface cables from 3RK1901-0CB0 while the station is powered?
Disconnect the station supply before connecting or separating the AS-Interface cables and plug connections.
Which base should I choose instead of 3RK1901-0CB0 for direct wall mounting?
Use the K60 wall-mounting plate 3RK1901-0CA00 for the wall-mounting arrangement.